Common Pitfalls to Avoid When Crafting Your Own Bath Bombs
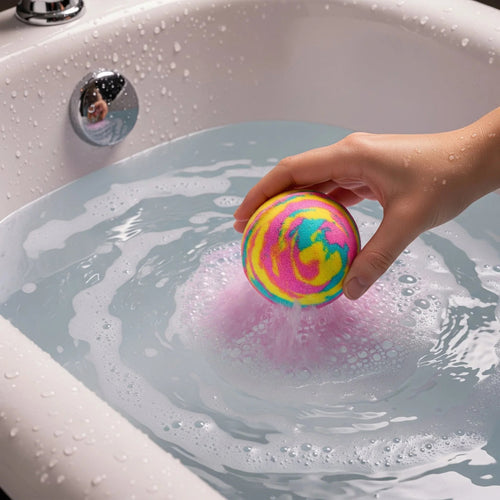
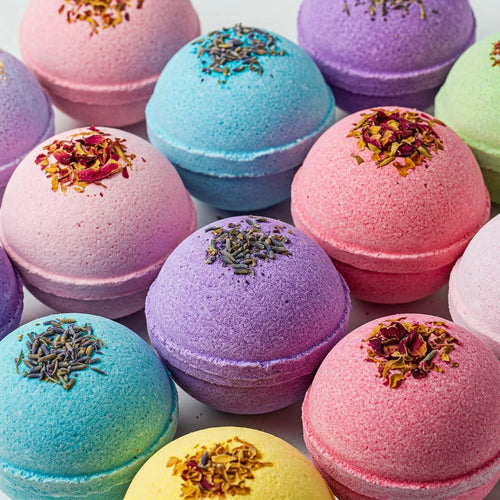
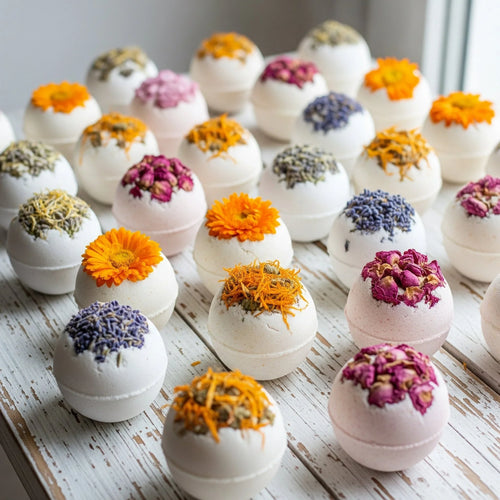
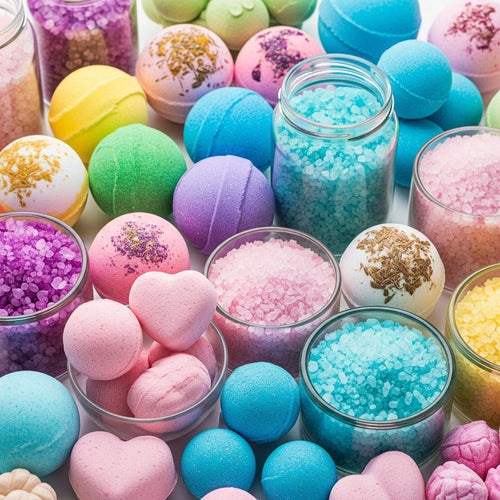
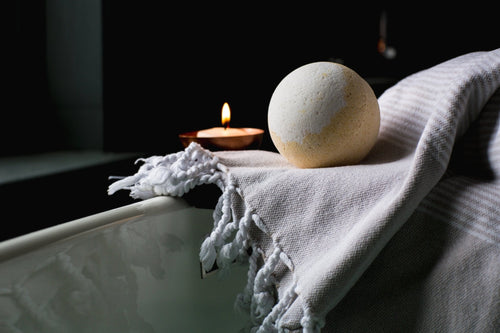
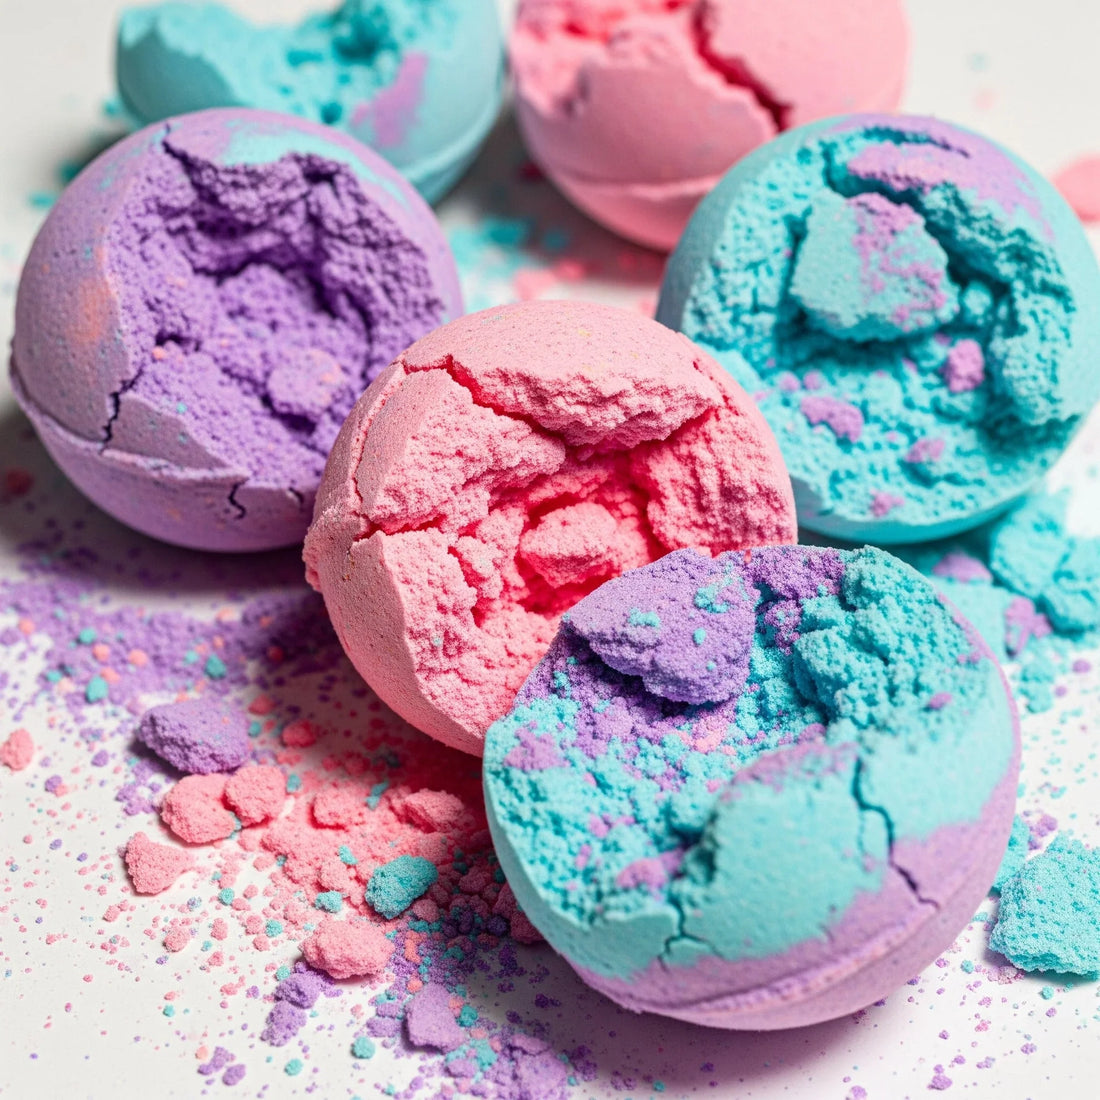
There's something truly magical about dropping a homemade bath bomb into a warm tub and watching it erupt in a fragrant, skin-softening spectacle. The satisfaction of creating these little spheres of bubbly bliss yourself is immense.
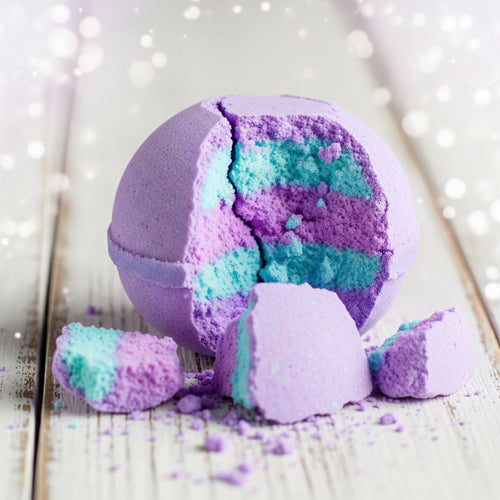
However, the journey from gathering your ingredients to that perfect fizzy finale isn't always smooth sailing. Many enthusiastic DIYers stumble along the way, ending up with crumbly concoctions, duds that barely fizz, or even bath bombs that stain the tub!
Don't let a few early mishaps discourage you from pursuing your bath bomb dreams. Like any craft, mastering the art of homemade bath bombs takes a little know-how. That's why we've compiled a comprehensive guide to the most common mistakes people make when creating their own fizzy bath treats.
By understanding these pitfalls, you'll be well on your way to producing luxurious, spa-worthy bath bombs right in your own kitchen.
So, grab a cup of tea, settle in, and let's dive into the world of bath bomb blunders – and more importantly, how to avoid them!
1. The Moisture Mayhem: Getting the Liquid Ratio Wrong
This is arguably the number one culprit behind bath bomb failures. The delicate balance of wet and dry ingredients is crucial for achieving that perfect packability and fizz.
-
Too Much Liquid: Adding too much water, witch hazel, or oil can activate the citric acid and baking soda prematurely. This leads to a premature fizzing frenzy in your mixing bowl, resulting in flat, lifeless bath bombs. You might also end up with a sticky, unmanageable mess that's impossible to mold.
- Too Little Liquid: On the other hand, not enough liquid will leave you with a dry, crumbly mixture that refuses to bind together. Your bath bombs will likely fall apart the moment you try to unmold them.
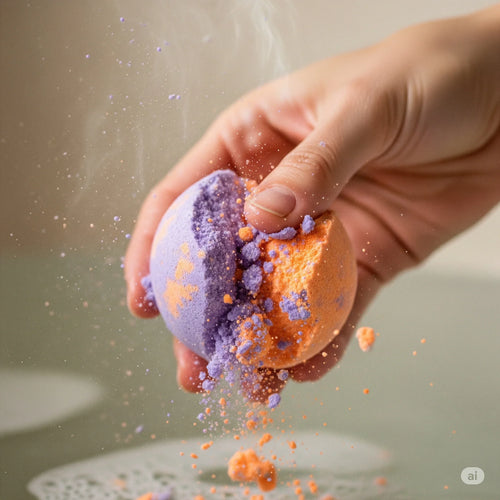
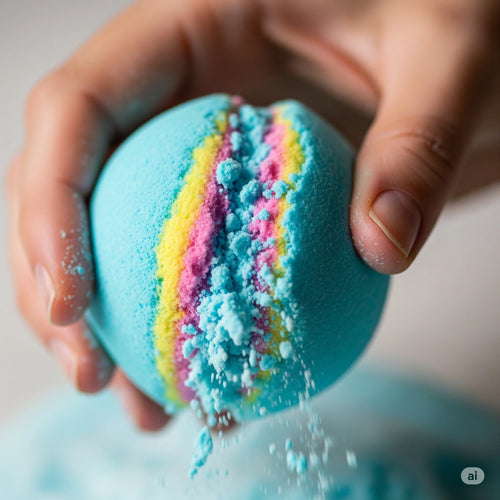
The Solution: Introduce your liquid ingredients very gradually, spritzing or adding just a few drops at a time. Mix thoroughly after each addition and test the consistency by squeezing a handful of the mixture. It should feel like damp sand – able to hold its shape when compressed but still slightly crumbly.
2. The Powder Puzzle: Incorrect Ingredient Proportions
While there are many bath bomb recipes out there, the fundamental ratio of baking soda to citric acid is key to a good fizz.
-
Not Enough Citric Acid: Citric acid is the activator that reacts with baking soda in water to create those delightful bubbles. Skimping on it will result in a weak or nonexistent fizz.
- Too Much Citric Acid: While more fizz might sound appealing, an excess of citric acid can make your bath bombs too reactive during the mixing process and potentially irritate sensitive skin.
The Solution: Stick to reliable recipes and measure your ingredients accurately, preferably using a kitchen scale for precision. A common ratio is 2:1 of baking soda to citric acid, but some recipes may vary slightly.
3. The Color Catastrophe: Staining Your Tub (and Yourself!)
Beautifully colored bath bombs are part of the appeal, but the wrong type or amount of colorant can lead to a bathtub nightmare.
-
Using Food Coloring: While tempting due to its availability, liquid food coloring is notorious for staining both skin and porcelain.
- Adding Too Much Colorant: Even with bath bomb-safe colorants like mica powder or liquid bath bomb dyes, using too much can leave residue in your tub or temporarily tint your skin.
The Solution: Opt for bath bomb-specific colorants like mica powders, liquid bath bomb dyes, or cosmetic-grade pigments. Start with a small amount and gradually add more until you achieve your desired shade. Always test a small amount on your skin first to check for staining.
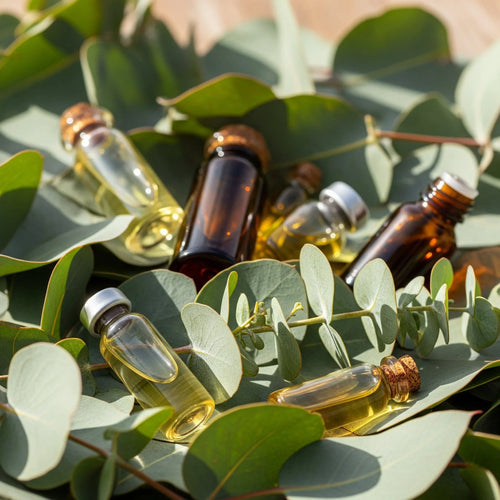
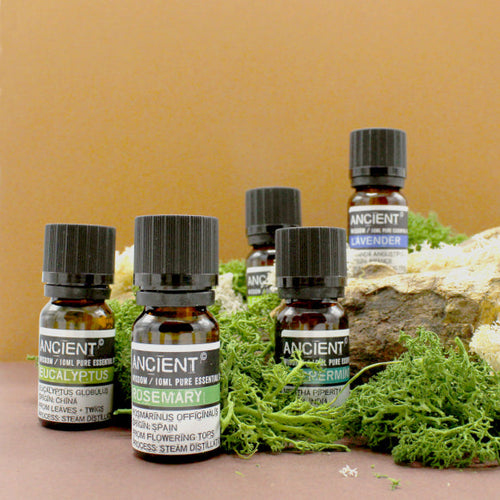
4. The Fragrance Fiasco: Essential Oil Overload
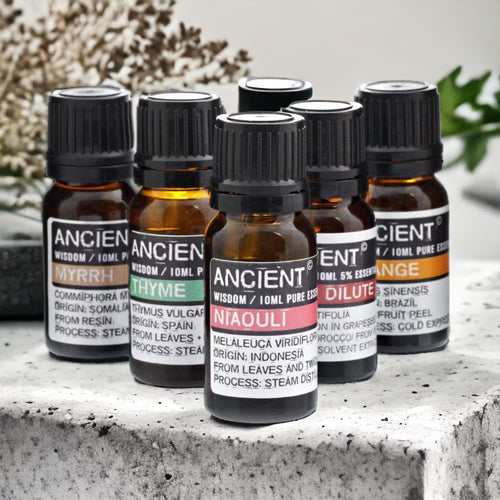
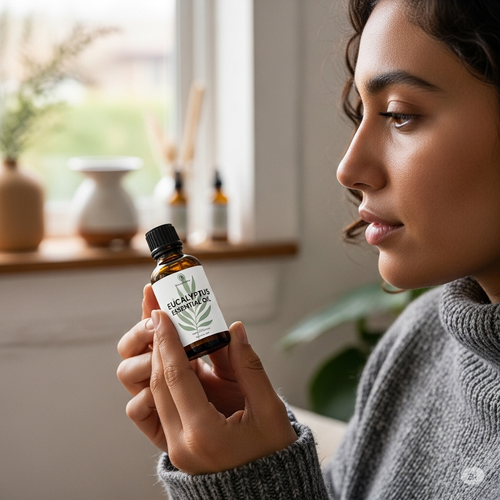
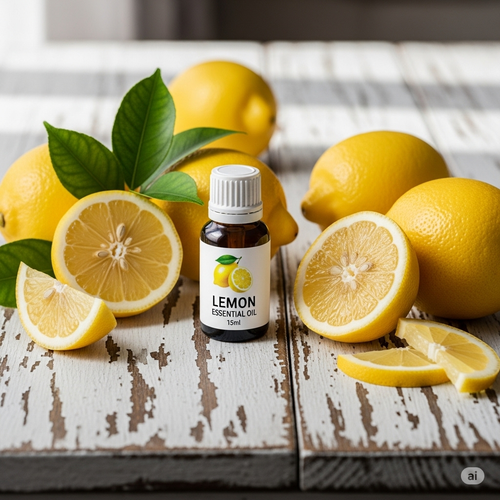
The aromatherapy benefits of essential oils are a wonderful addition to bath bombs, but less is definitely more.
-
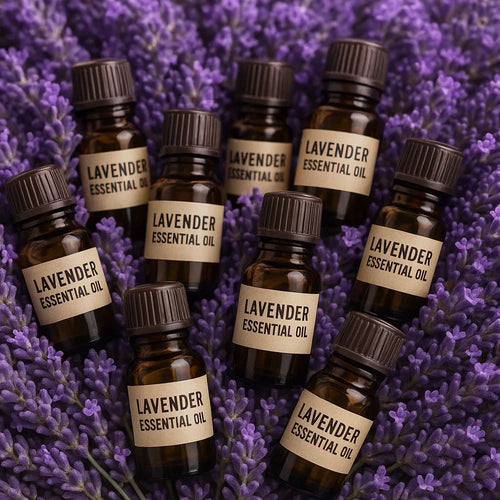
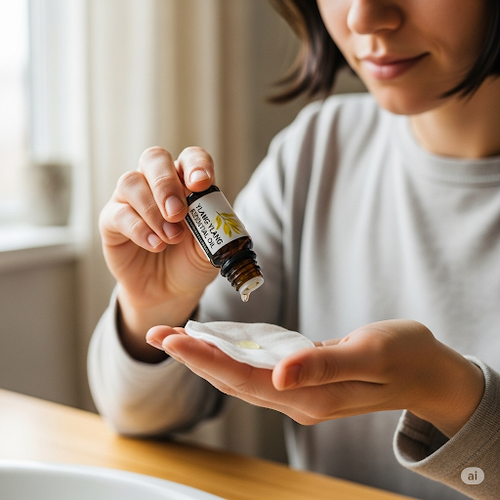
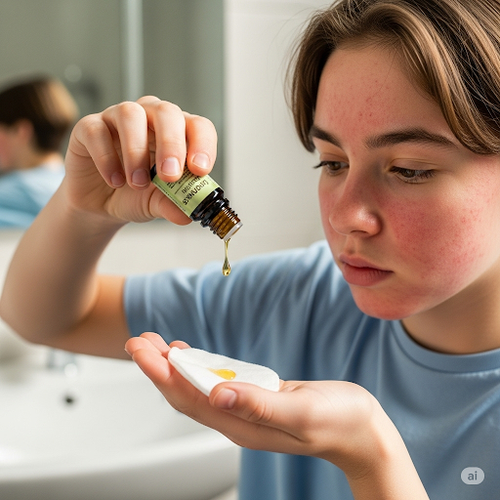
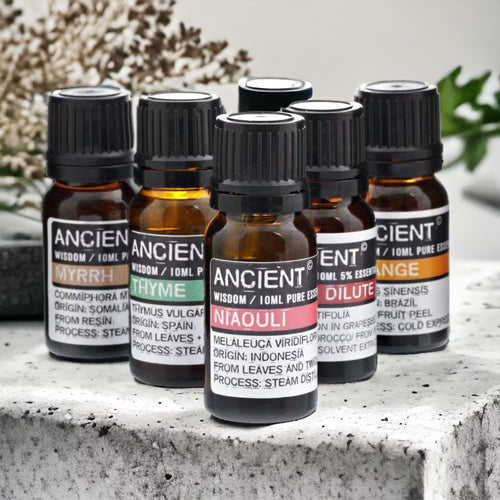
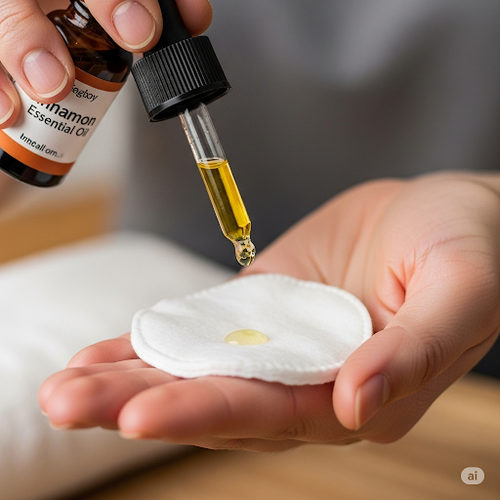
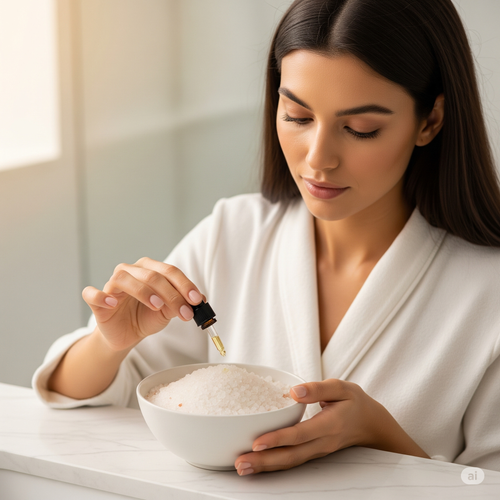
Using Too Much Essential Oil: Overpowering scents can be unpleasant and, in some cases, even cause skin irritation. Certain essential oils are also photosensitive and should be used with caution.
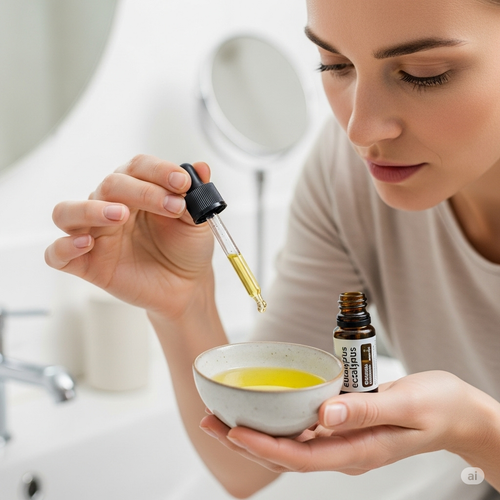
- Not Emulsifying Properly: Oil and water don't mix, so without a proper emulsifier (like Polysorbate 80), the essential oils can pool on the surface of the bathwater and potentially cause skin irritation or leave an oily residue.
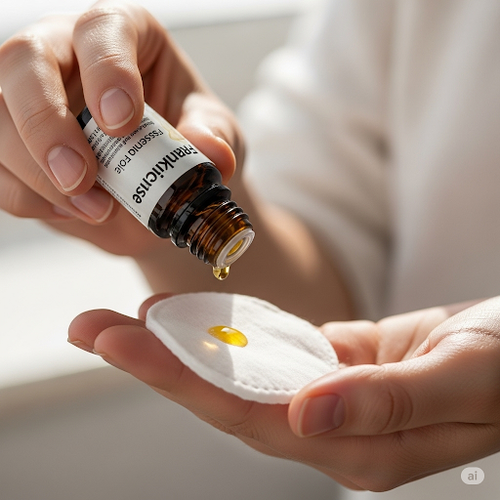
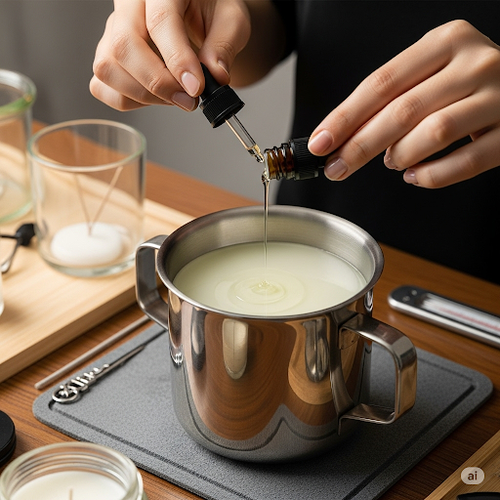
The Solution: Stick to recommended dilution rates for essential oils in bath bombs (usually a few drops per bath bomb). Consider using Polysorbate 80 to help the oils disperse evenly in the water. Fragrance oils specifically designed for bath and body products are also a safe and often more cost-effective option.
5. The Packing Predicament: Too Loose or Too Tight?
Achieving the right packing pressure is crucial for creating bath bombs that hold their shape and fizz correctly.
-
Packing Too Loosely: A loosely packed mixture will result in fragile bath bombs that crumble easily.
- Packing Too Tightly: While seemingly counterintuitive, over-packing can also be problematic. It can prevent the water from penetrating evenly, leading to a slow or incomplete fizz. It can also make them difficult to remove from the molds.
The Solution: Pack the mixture firmly but gently into your molds. Avoid pressing down with excessive force. If using two-part molds, slightly overfill each half and then press them together firmly, twisting slightly to secure.
6. The Unmolding Uncertainty: Patience is Key
The unmolding stage can be nerve-wracking, but rushing the process is a recipe for disaster.
-
Unmolding Too Soon: If you try to remove your bath bombs from the molds immediately after packing, they are likely to be too fragile and will fall apart.
- Unmolding Incorrectly: Yanking or twisting the molds aggressively can also damage your delicate creations.
The Solution: Allow your bath bombs to dry and harden in the molds for several hours, or even overnight, depending on the humidity and your recipe. To unmold, gently tap the sides of the mold and carefully invert it onto a soft surface.
7. The Storage Saga: Protecting Your Precious Fizz
Even perfectly made bath bombs can lose their fizz and potency if not stored properly.
- Leaving Them Exposed to Air and Humidity: Moisture is the enemy of bath bombs. Exposure to air and humidity will cause them to absorb moisture, leading to a gradual (or sometimes rapid) fizzing reaction and a loss of their bubbly power.
The Solution: Once your bath bombs are fully dry and hardened, store them in an airtight container in a cool, dry place. Individual wrapping in plastic wrap or cellophane bags can also help to protect them from moisture.
Making your own bath bombs is a rewarding and creative process. By being mindful of these common mistakes and implementing the solutions we've discussed, you'll significantly increase your chances of creating beautiful, fragrant, and perfectly fizzy bath time treats. So, embrace the learning curve, experiment with different scents and colors, and enjoy the bubbly fruits (or should we say, fizzes) of your labor! Happy crafting!

